Insulation is one of the least glamorous parts of a van build — there are no good photos of it once it's done, and most people rush through it to get to the cabinetry. That's a mistake that can take years to show up and cost you the entire build when it does.
I've done three van builds and one garage conversion. The insulation method I landed on by the third build is what I'd use if I started again tomorrow.
The Problem Nobody Talks About: Condensation
A van is a steel box. When warm, moist air from breathing, cooking, and showering meets a cold metal surface, it condenses into water. That water sits behind your walls, soaks into any organic material (wood, earthwool, MDF), and starts rotting your build from the inside out.
You won't see it for 12–18 months. Then you'll smell it. Then you'll pull a wall panel off and find black mould and rotted timber. This is the single most common long-term failure in van builds, and almost all of it comes from bad insulation choices.
The worst offender: Spray foam directly against bare metal. It looks solid and permanent, but micro-gaps form over time as the van flexes. Moisture gets in through those gaps and is trapped with nowhere to go.
What I Used — and Why
Foil-backed rigid insulation boards (2.5 R-value)
This was my primary insulation for walls and ceiling. I used 2.5 R-value solid double foil-backed insulation sheets, cut to fit each panel.
The foil facing is the key. It acts as a vapour barrier — warm moist air hits the foil and doesn't penetrate through to the cold metal behind it. The moisture can't get trapped between insulation and metal if it never gets past the foil.
The critical thing is to leave a small air gap between the foil and the metal wall wherever possible. This allows any moisture that does creep in to have somewhere to go rather than sitting and building up.
Sound deadening mats (first)
Before any insulation goes in, every bare metal panel gets sound deadening. These are butyl rubber mats — similar to what car audio installers use. They stick directly to the metal and stop the van sounding like a tin drum on the highway.
Clean every panel with white spirits before applying. Grease or dust stops the adhesive bonding, and once the van gets hot on a summer day the mats peel off. You don't want to find this out after everything is sealed up.
Sound deadening goes on first — every metal panel before any insulation.
Adhesive method
For the roof, I used a thin layer of expanding foam to hold the insulation boards up against the ceiling — it's the only adhesive that holds reliably overhead in heat. For the walls, I combined Sikaflex construction adhesive with expanding foam. Any gaps I couldn't fill with boards I packed with earthwool.
Never use earthwool against bare metal. It holds moisture like a sponge directly against a cold steel surface — exactly the conditions that create rust and mould. Earthwool is fine for filling gaps inside an already-sealed cavity, not as a primary wall insulation layer.
The Floor
Van floors are never flat and always complicated by cross members, wheel arches, and whatever is bolted underneath. My method:
- Sound deadening on the floor metal first.
- Insulation boards cut to fit between floor ribs.
- 18mm marine ply sheets on top, cut to fit, bolted through to the floor.
- Nylon washers under each nut on the outside to prevent corrosion.
- Countersunk bolt heads so the finished floor is completely flat.
Check underneath before you drill anything. There are fuel lines and brake lines under there. One wrong hole ruins your day.
The Roof
The roof is the hardest area to insulate well because you're working overhead and gravity works against you. Expanding foam as adhesive is the right call here — it grips the panel up while it cures and fills any gaps in the process.
Plan your roof cutouts (Maxx Air fan, skylight, solar cable entry) before insulation goes in. Cutting through insulated panels is messier and harder, and you risk disturbing the bond.
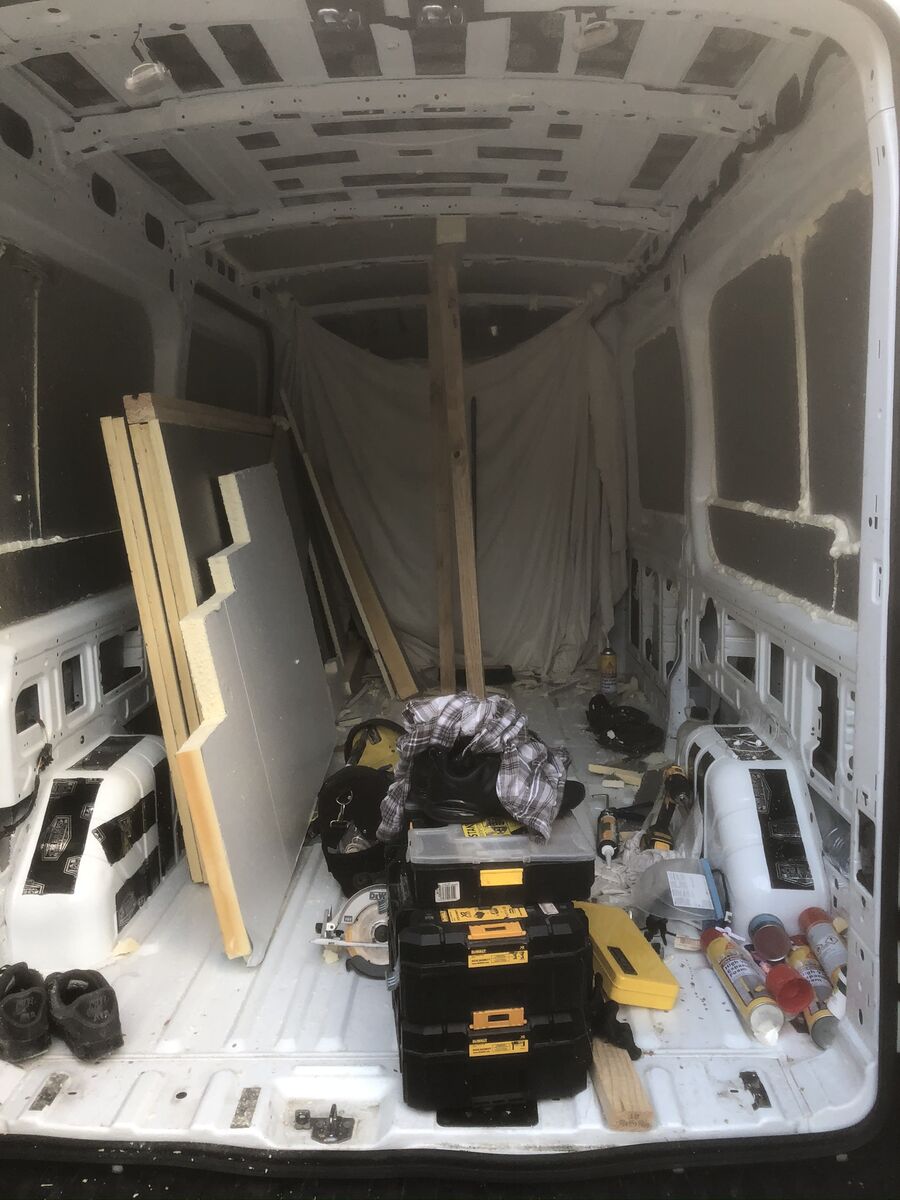
Foil-backed boards going into the walls — the foil face points inward toward the living space.
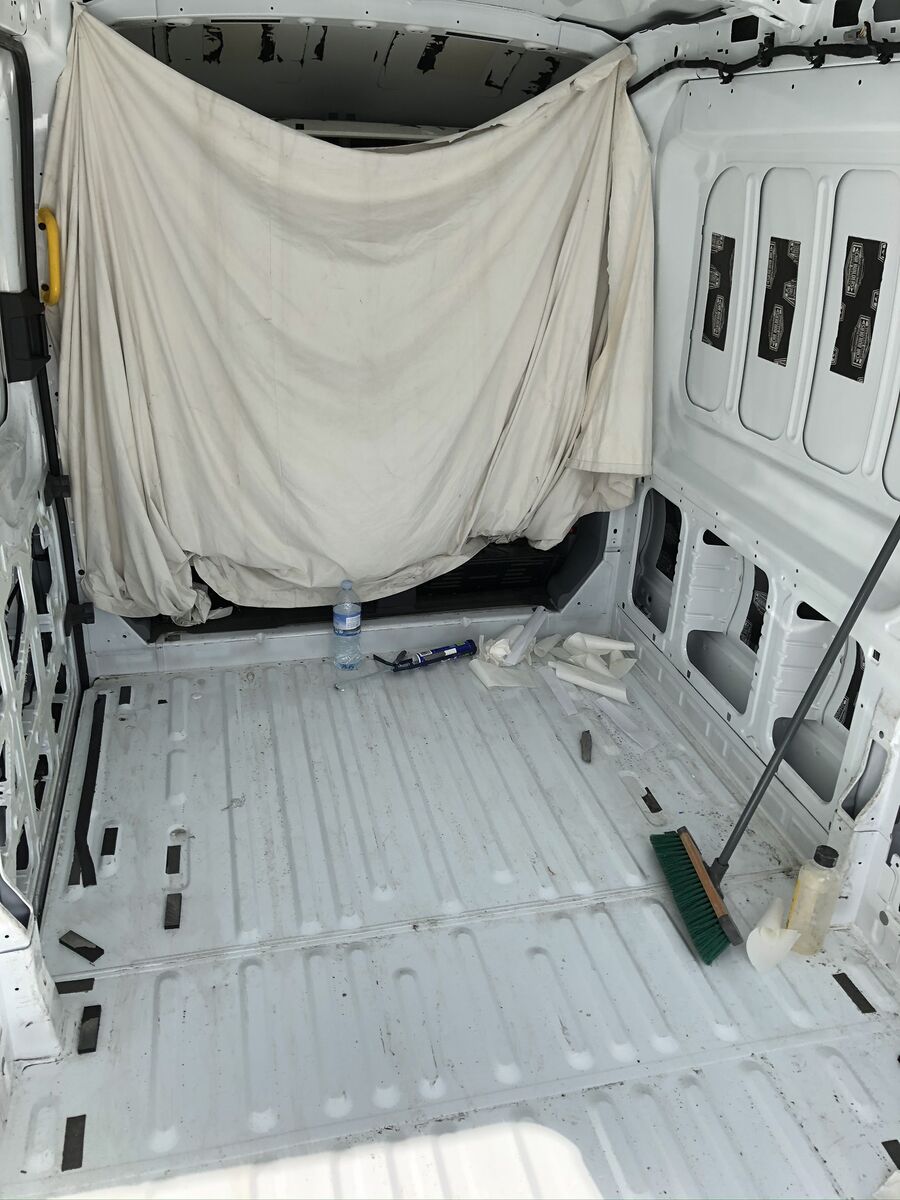
The Cockpit Dividing Wall
This is one most people skip, and it makes a massive difference. The amount of heat that transfers through from the cab is significant — the engine bay, the dashboard, the windscreen all collect and radiate heat into the cab area, which then bleeds into your living space.
I built a solid insulated wall between the cab and the living area before I did any other interior work. I designed it with a hatch that doubled as a window and a flat surface. The heat difference is noticeable immediately — especially in summer.
What to Avoid
| Material | Verdict | Reason |
|---|---|---|
| Spray foam (direct to metal) | ❌ Avoid | Traps moisture in micro-gaps as van flexes |
| Earthwool against bare metal | ❌ Avoid | Absorbs and holds moisture against cold steel |
| Polystyrene (EPS) | ⚠ OK for floor only | Compresses over time under foot traffic |
| Foil-backed rigid boards | ✅ Best choice | Vapour barrier + insulation in one |
| PIR boards (Celotex/Kingspan) | ✅ Good | Higher R-value per mm, good in tight spaces |
| Sound deadening (butyl) | ✅ Essential first layer | Eliminates road noise and resonance |
How Much Insulation Do You Actually Need?
For an Australian climate (hot summers, mild winters), 2.5 R-value is sufficient. For cold-climate builds — UK, Europe, Canada — you want to push for R3.5–R5 where space allows, especially on the ceiling and floor where heat loss is greatest.
More insulation also means more noise reduction, which improves daily quality of life significantly. The difference between a well-insulated and a poorly-insulated van on a highway is dramatic.
The chapter on insulation in the free guide covers the full material list, where I sourced everything, and the exact method I used for each area of the van — walls, roof, floor, and the cockpit divider.
Get the Free Van Build Guide
15 chapters — insulation, solar, plumbing, cabinetry, and everything in between.
This page contains affiliate links. If you purchase through them we may earn a small commission at no extra cost to you. See our affiliate disclosure.